Uploading sprites to VRAM


The featured image really suits todays subject and I didn't even had to search for it, how lucky c:
I have been quite inactive here, not only because I was terrible busy but also because I need to get into a habit of sharing my progress more. I don't really have found my style with that yet. It's probably normal wanting to share progress in an easy way that reaches everyone and then they are all hooked and want to know more! That's why I considered Youtube could be a good way for this but strangely, I'm here again. The effort of writing these posts seems higher to me, but maybe it helps me to become better at writing, who knows. But now it's time to jump into action!
Meet the FishyBoy
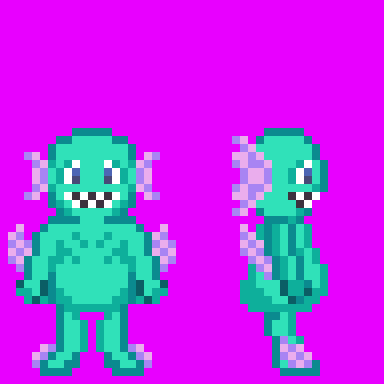
It took me like a week to get these two simple sprites done. I tried to collect references from existing PS1 games but wasn't very lucky with it. The biggest problem is to get references for animations. With DuckStation it is easy to take screenshots with the internal resolution. That is great, however for capturing some animations, that would mean to hit the screenshot button really fast... Recording the game had the issue that I wouldn't get the internal size either. Dumping the textures was a neat attempt as well but many sprites are consist of multiple parts and it was quite challenging to set them together just for reference. In the end the easiest solution was to just get references from the fantastic Spriters Resource. So yeah, that took quite a while and the job is not even done as there are clearly more frames missing. However I also wanted to focus on uploading the sprites to the PS1 VRAM.
Converting the FishyBoy
The basic sprite sheet is saved as a .png file with a palette. For the PS1 it is still best to use palletised sprites because they take less memory in VRAM. A sprite with up to 16 colors for example is 4 times smaller in width then a full colored sprite. A sprite with up to 256 colors is still half as wide as a full colored sprite, so the color amount does matter a lot. For the size I decided to go for 24x48 pixel but I feel like these still might be to small, therefor I'm so keen to see them on screen.
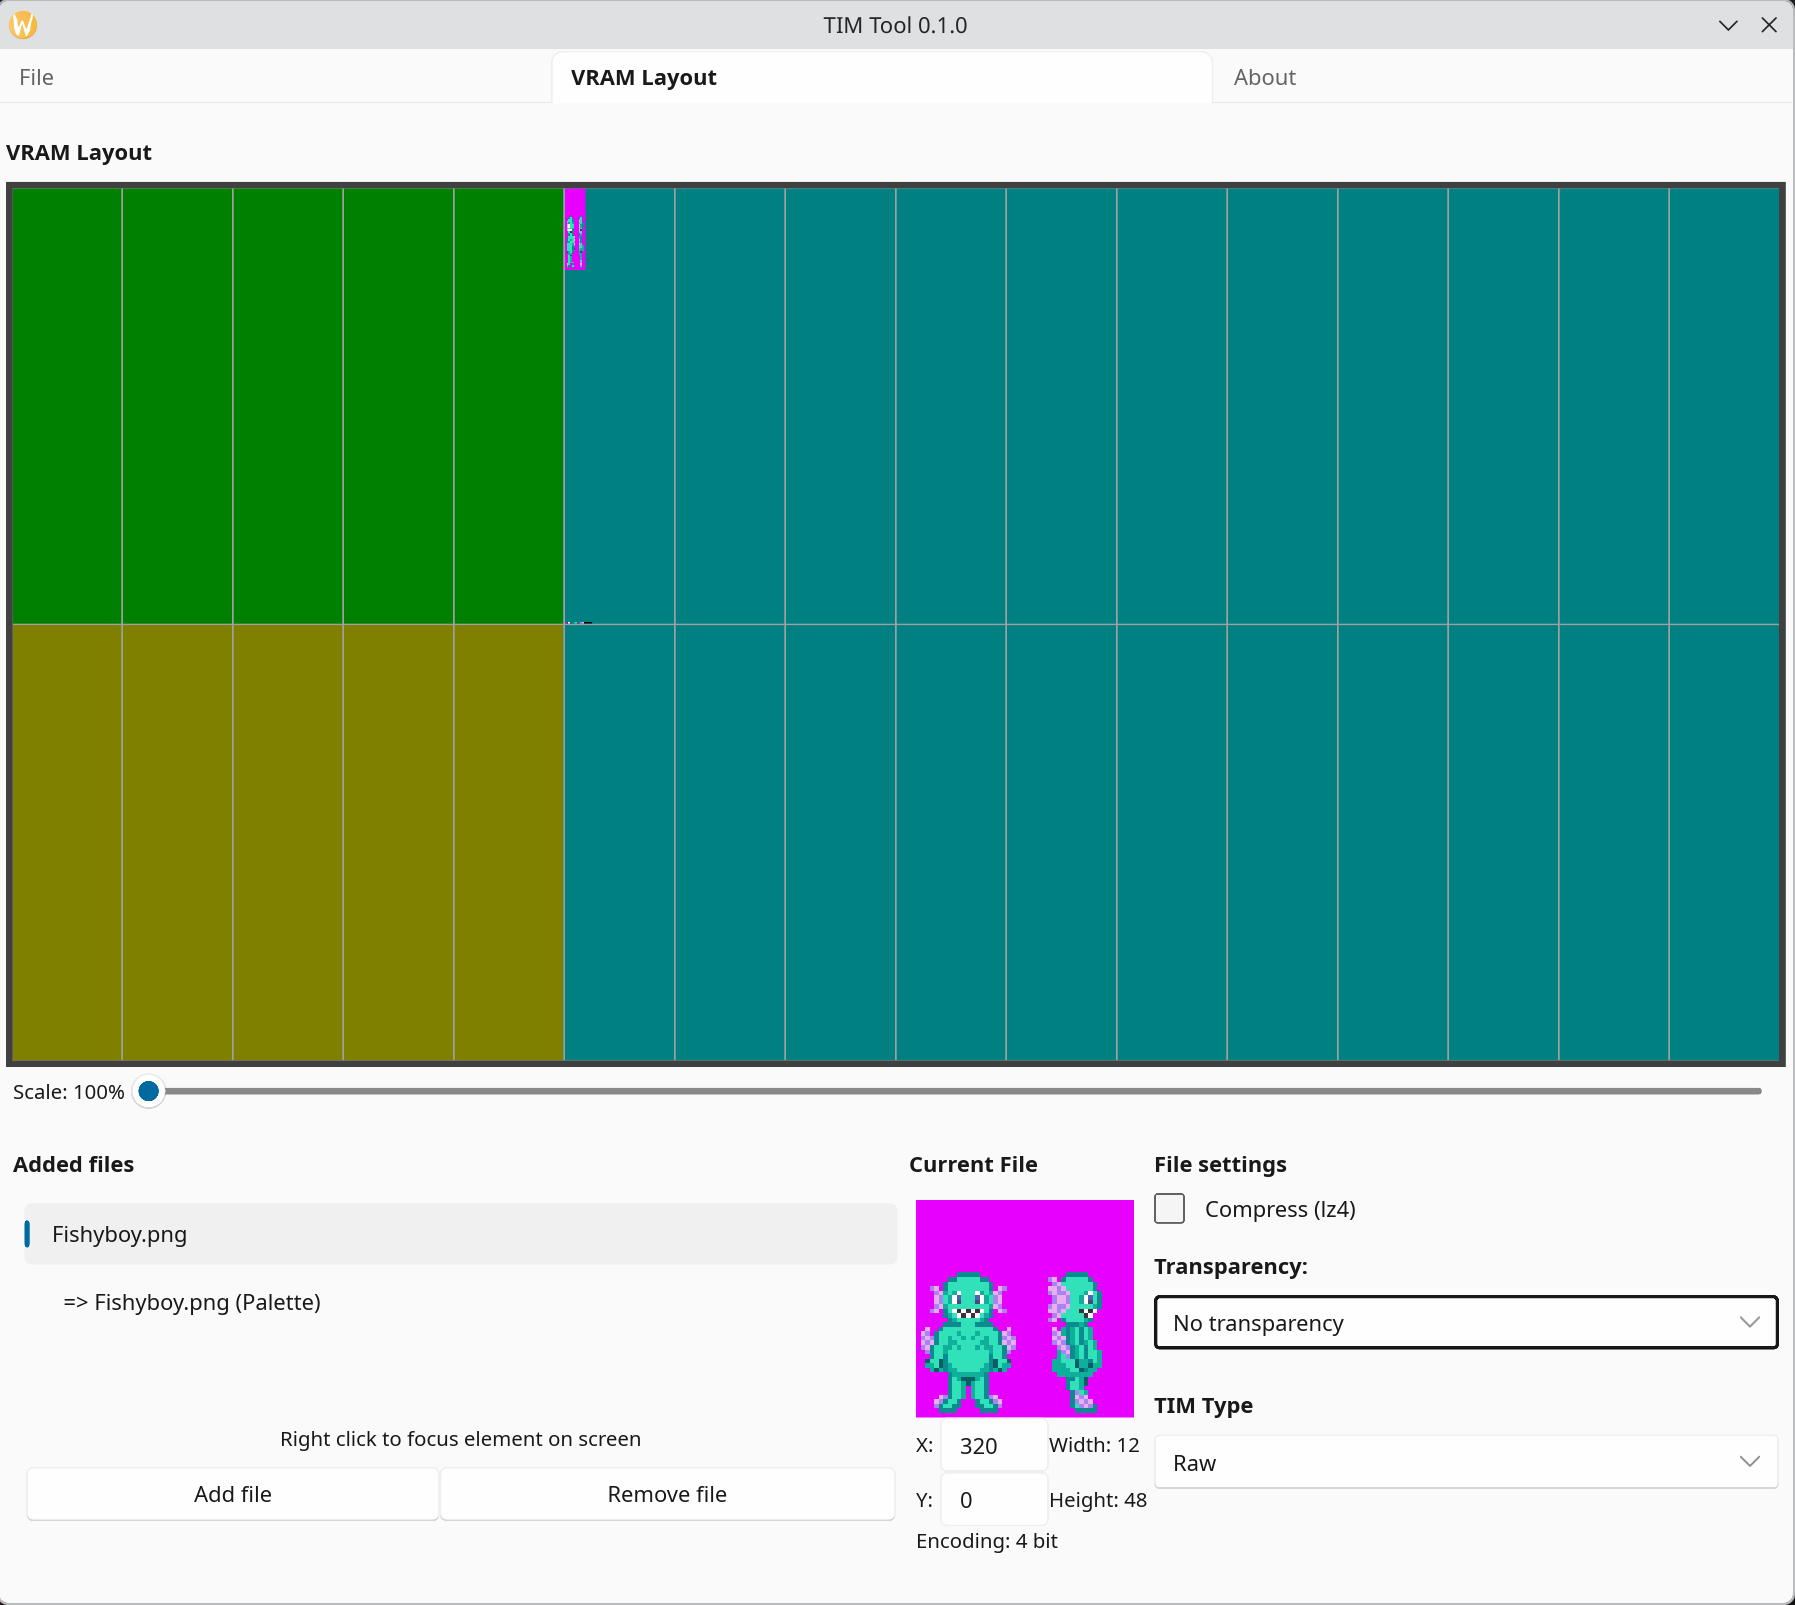
TIM ToolTo make the FishyBoy work with the PS1 we first need to decide where in VRAM the image will be, where the color palette is supposed to be and various settings. Since the image is encoded as 4bit (16 colors), it appears so squashed in the VRAM Layout view. This version of the TIM Tool can save images as projects to allow the conversion of multiple of them. Currently only the raw conversion is supported where all the color information are stored without any header as a long array of bytes.
Speaking of bytes... We do not want the color information to be bytes.
Why we do not want bytes
The converted image will be uploaded to the VRAM via DMA (direct memory access) which is easy and fast. However the PlayStation can only use DMA on addresses that are "word aligned", that means that their address can be divided by 4. If this is not the case, then the CPU crashes. However bytes are so small that it is not guaranteed that they are on a word aligned address. However a word is perfectly aligned, we could also tell the compiler to force align the bytes. This sounds easy but since the DMA sends multiple words it make sense to just convert the byte array to a word array anyway and the correct alignment comes for free!
Uploading the image
Now that we have the word array we just need to tell the GPU where to upload our images to. We actually have 2, one is the image and the other one is the color palette. Both are an arrangement of colors, but the pixel for the image are just indices into the color palette. We define a rectangle in VRAM where the image, one at a time, will be loaded to. Now we have to send enough words to fill that rectangle. I got weird results when sending more words then the rectangle needed... Important to keep in mind is, that a word is equal of 2 pixel! I forgot that detail and tried to send more values then I had... However if everything works out correctly you get this:
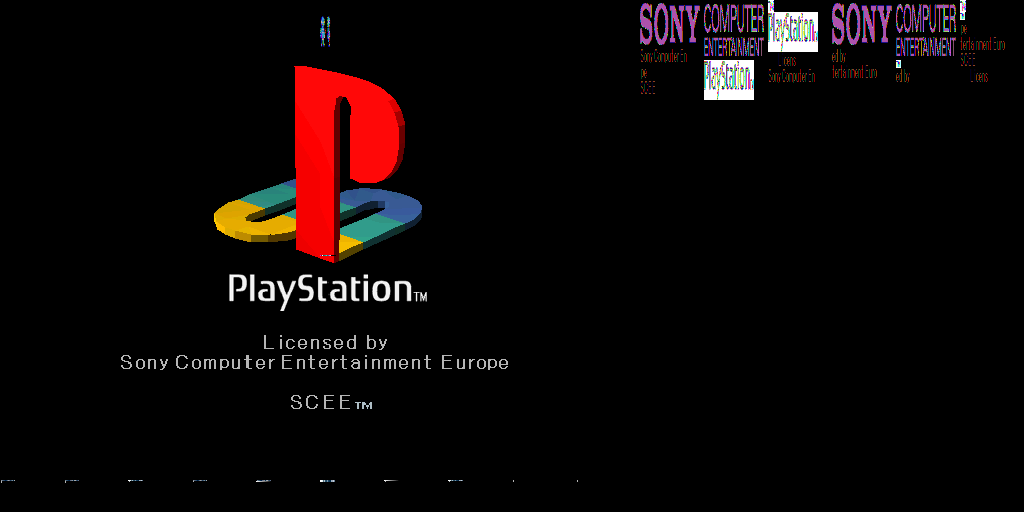
Can you spot the FishyBoy? No?
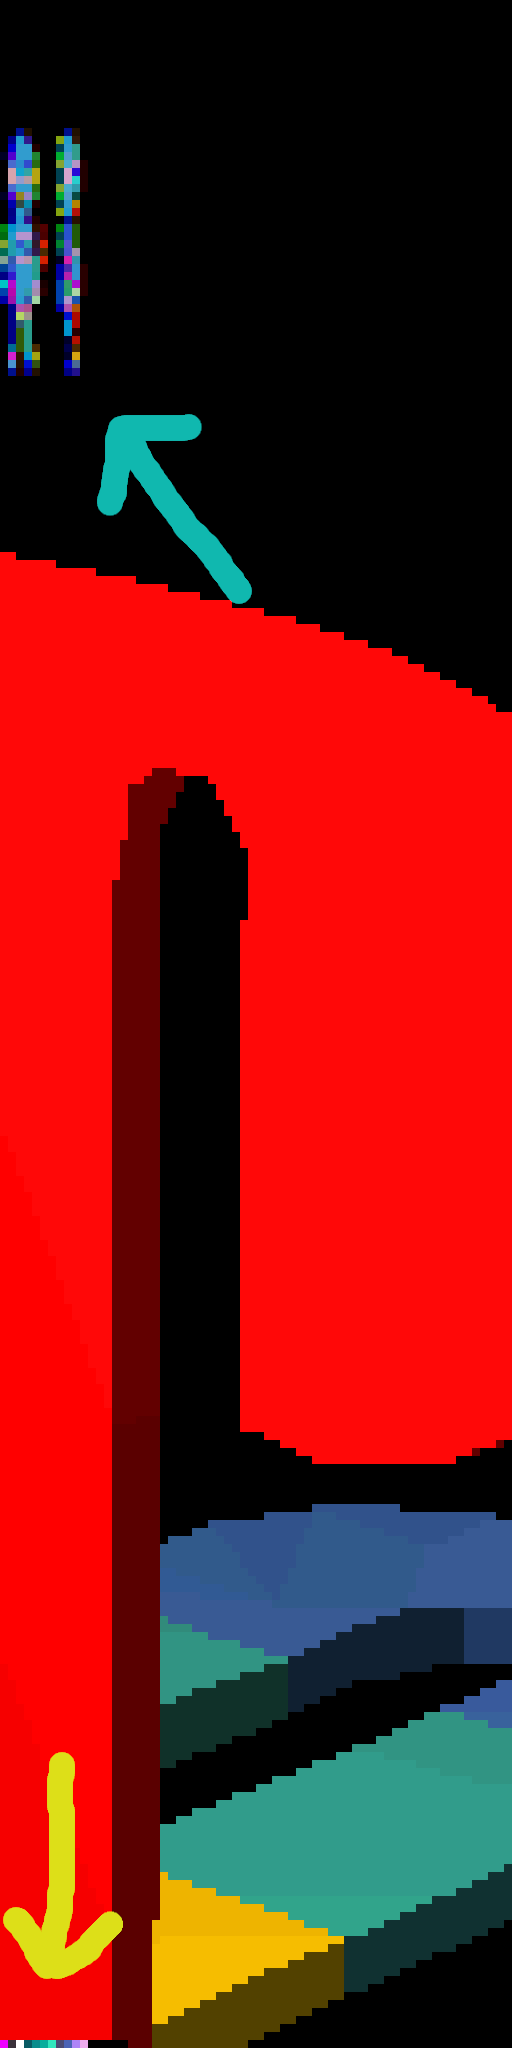
Ignoring the big slice of the PS1 logo and following the turquoise arrow, you can see the 4bit encoded FishyBoy. The colors are so weird because one pixel actually contains 4 indices and not the actual color. This is why the sprite is also less wide then the original because one pixel represents the next 4 pixel! The yellow arrow points at the color palette or color lookup table. Each of the 4 indices per pixels is an offset into this table and decodes the actual pixel.
Extra from 17.06.2026

Since it took me so long to release this blog, I decided to add a screenshot of the FishyBoy on screen. This is not a pixel perfect screenshot though.
This is it for today! I skip on going much more into detail for now, but please feel free to comment or to ask for clarification. For now these entries have no target audience, but who knows when this might change.
If you feel generous please donate to my Ko-fi - or don't this is also fine c: